

Looking to buy the Wanhao GR2? Before you do so, read our review to find out about its features, specs, performance, and more.
The Wanhao GR 2 (Gadoso Revolution 2) is the successor of the Wanhao Duplicator 6. While the first printer in the Gadoso Revolution line was a resin printer, the GR2 is an FDM printer.
Wanhao GR 2 Review
The most notable feature of this model is a full-function, color touchscreen display, which has made it much more convenient to work with.

Wanhao GR 2 Specs
[su_table]
| Extruder system | MK11 full metal extruder |
| Leveling | Pre-leveled |
| Max printable area | 20x20x17.5 cm |
| Filament diameter/light | 1.75mm |
| Material support | PLA, PVA, PEVA,ABS |
| Accuracy | X 0.0125mm Y 0.0125mm Z 0.005mm |
| LCD display | English/Chinese/ customrized any language |
| Gross Package Weight(kg) | 14.8 |
| Power supply unit | Inside 110 AND 250V(optional), 50/60Hz, 4.0A (input), and takes standard IEC cable |
[/su_table]
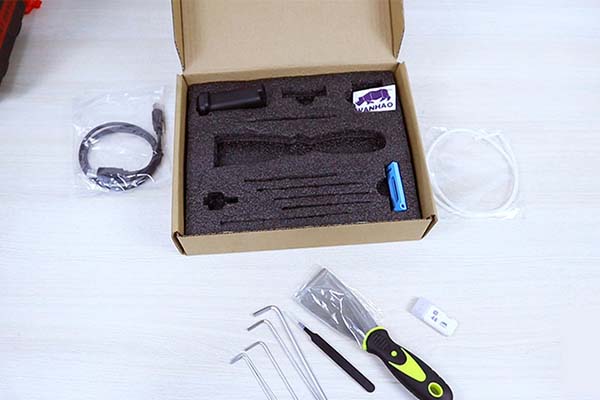
What’s in the Box?
Here are the items in the box:
- 4 GB flash drive, which has the Wanhao Cura slicer
- 1 kg PLA reel
- A power cord
- A USB cable for connection,
- A spatula for prying models
- Sharp tweezers
- Hexagons of different sizes for repairing and setting up the printer
- A holder for a Teflon tube on the body
- A holder for a spool on the back wall

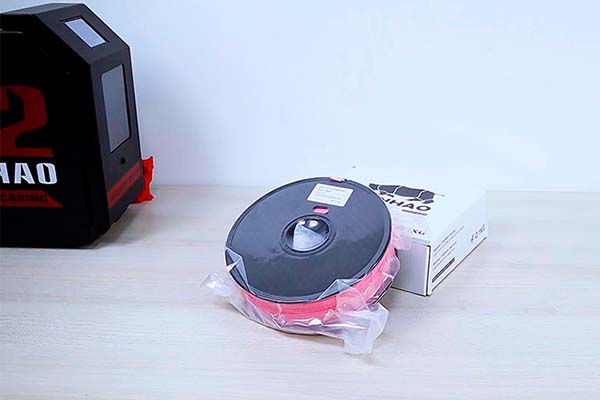
The Wanhao GR 2 is designed for reels of up to 750g, which is strange. The printer also has a replaceable heating block assembly with a nozzle and a metal thermal barrier designed for printing ABS and other high temperature plastics.
You can also purchase an acrylic printer cover, which consists of walls, a roof and a door with a convenient handle.
Technical Features
The kinematics of the Wanhao GR2 are based on a circuit similar to the Ultimaker printers. In this printer, the extruder carriage moves along crossed polished shafts, sliding on brass bushings.
The printer’s Z axis has undergone some changes. Instead of expensive and, often, average quality ball screws, a conventional 4-lead T8 screw with an “Anti-wobbling” nut is installed.

The printbed is a 6mm thick slab with a heater below it and an adhesive coating glued on top. The printbed is screwed to the bed by 3 bolts with springs and iron nuts “lambs”.
The printer is assembled in a steel case with a wall thickness of 2 mm. Thanks to this, rigidity increases and vibrations are minimized at high printing speeds.
The printer is fairly modest in size and can easily fit even on a small nightstand. Its dimensions are 460 x 440 x 550 mm.

The printer has a build volume of 200 x 200 x 175 mm.

For the print head, the printer has an MK11 extruder with two feed gears.
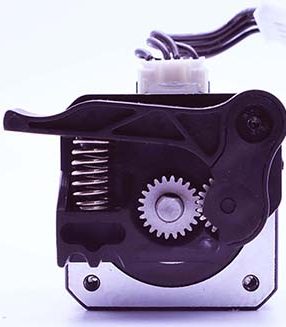

The radiator and the heating block remain the same as before.
The cooling fan is more powerful, and you can now print more gentle overhangs.
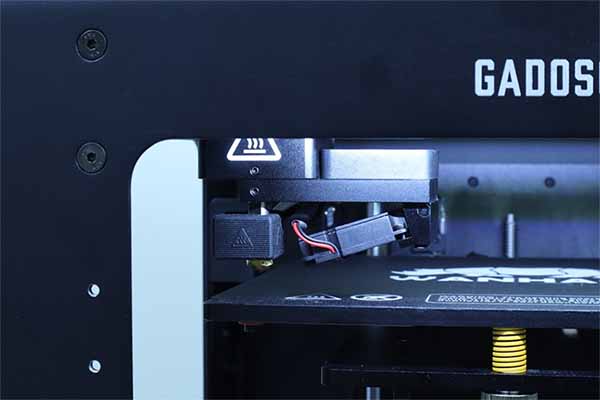
The extruder head is connected using a connector with a fixation at the top.

The Wanhao Gr2 has a carbon air filter that eliminates unpleasant odors when printing with odorous plastics. The filter can be easily removed.

Behind it is a fan that circulates air when the cover is closed.

Electronics
Let’s look inside the case where all the electronics are located.
The heart of the printer is a proprietary board that is based on the STM32 processor. The modern, quiet TMC2209 drivers are responsible for the movement. Unfortunately, they are soldered on the board. We will talk about them separately.

There is a quiet but powerful fan for cooling the board. A 24-volt power supply unit with 350W power is installed. This is more than enough to power the printer.

All wires are crimped into terminals and neatly laid.
Display
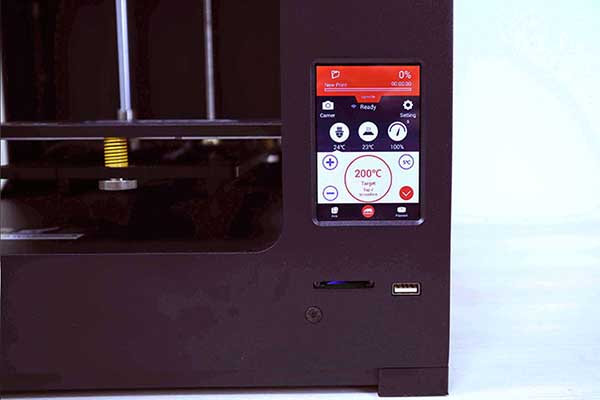
The Wanhao GR2 has a bright 3.5-inch diagonal touchscreen display.

The stylish display responds well to finger touches.
On the main screen, you can see information about printing, hot end, and table temperatures. Above them are the buttons for entering the settings menu and the camera.
There is also a built-in Web-camera with the ability to record time-lapses or control the printing process remotely when the printer is connected via Wi-FI.

Under the display, there is a port for an SD card and a 2.0 USB connector.
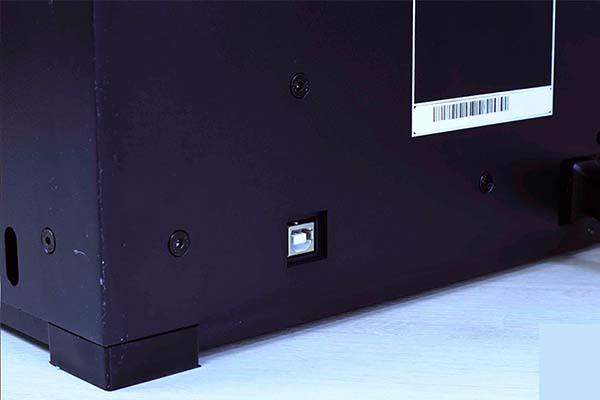
Connection to a computer is done from the back of the printer.
Interface
Let’s go back to the interface.
Under the temperature indicator, there is a control window, in which you can set the preheating of the hot end using the side buttons. There is also a button for preheating the printbed.
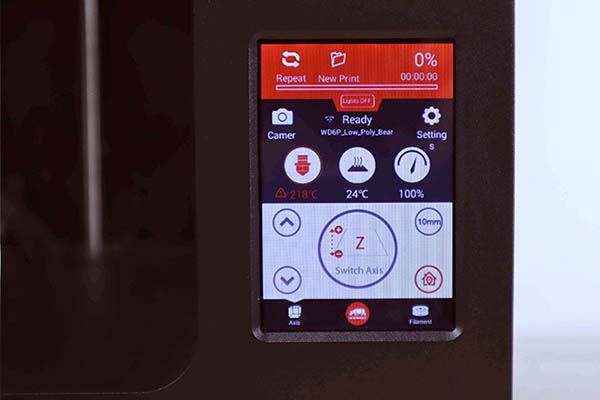
Clicking on the Axis icon on the lower left corner switched the printer to manual control. The axis is selected by pressing the central button. The side buttons can also be moved.
Settings
Now let’s take a look at the Settings menu.

The first item is the Wi-fi connection setup. When activated, it shows a list of available networks with their signal strength.

After selecting a network, you will be prompted to enter a password to connect to it.

The lower lines contain the language selection menu.
After that, there is a section on pairing a printer with a mobile application. When paired with a mobile application, you can start printing from the phone, edit models, place them in the print area and cut them into layers.

At the end of the menu is the firmware update section.

Finally, at the bottom is the reset button to factory settings.
Calibration
The printer must be calibrated before printing.
The Wanhao GR2 has functions that make the process easier. On the display, information is displayed regarding the steps to be taken.
Calibration is done from the the two menu items that we skipped. Now let’s take a closer look at them.
To calibrate the printbed, we need a piece of paper. You can use an A4 sheet of paper.
Next, select Bed Leveling in the Settings menu and following the instructions on the screen. Adjust the height of the table so that at each of the three attachment points the piece of paper barely rubbed against the nozzle.
The next step is to adjust the Z-offset. The print quality of the first layers of the model, which are the most important, directly depends on the calibration accuracy at this point. Select the Print Bed Calibration function and adjust the gap using the buttons on the display and the same piece of paper.
When satisfied with the degree of paper clamping, confirm the calibration and exit to the main screen.

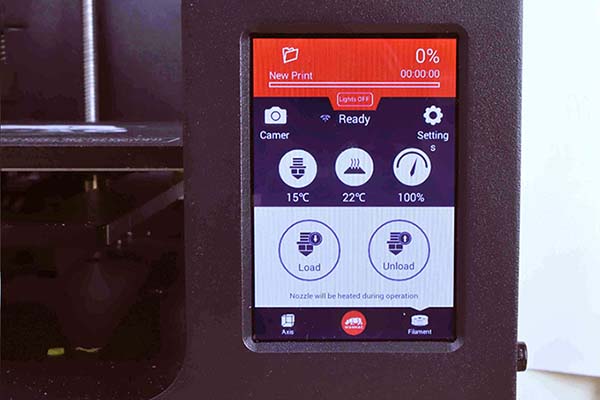
The last step before printing is loading the filament.
Set the required preheating temperature on the display, then go to the Filament menu and click Load. Next, push the filament reel into the hole from above until it stops. After this, the printer will begin to feed the filament when the nozzle has reached the temperature you specified.
Print Quality
Now it’s time for the first print.
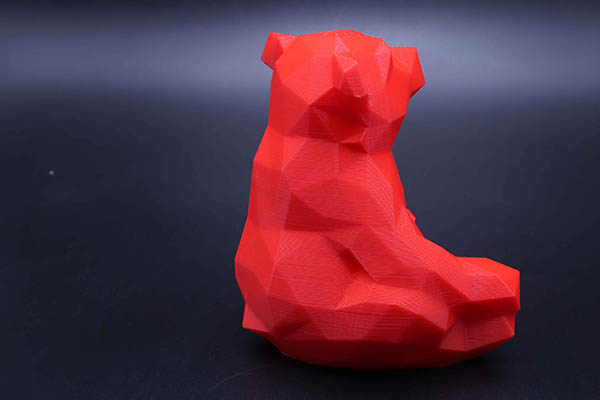
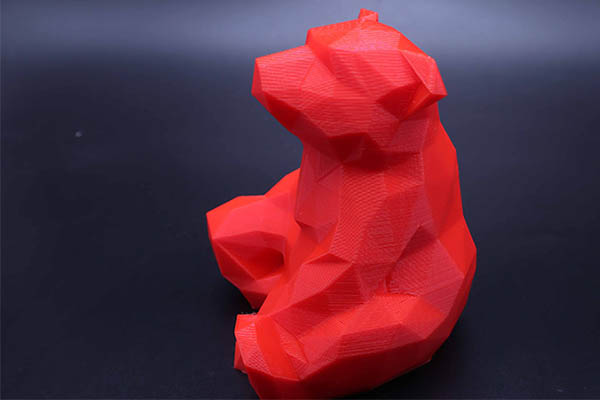
For the first test, we printed a low-poly model of a bear using Esun red PLA with a layer of 0.2 mm.
The first impressions at the beginning of printing were very pleasing.
First, thanks to the new drivers, the Wanhao GR2 has become much quieter compared to the Duplicator 6. The mechanics move almost silently and the only thing that stands out is the noise of the small fans. However, hearing the fans is still better than the loud buzzing of stepper motors.
Secondly, the first layer lays perfectly without any tweaks, and the tabletop became much more tenacious.
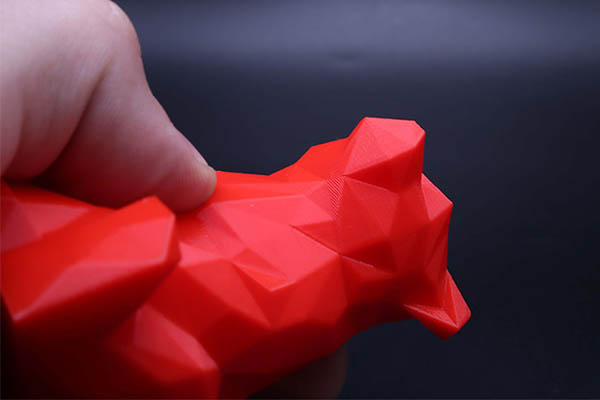
The quality of the printed model was excellent. The most difficult elements – the overhang under the foot and on the chin – were perfectly printed even though they were not supported by anything.

The edges of the model are even, layer to layer. There are no visible external defects.


For the next test, we printed a model of a cup for pens with holders for flash drives and SD cards. We used Esun green PETG and printed in 0.2 layer.
Now let’s examine the resulting model.
Despite the high fluidity of PETG, the model printed well. The overhangs on the model were smaller than on the PLA bear and they print better. The holes for flash drives and cards and the fillets at the bottom did not sag.
However, there were problems with a little under-extrusion on the upper layers. However, this is probably due to insufficient density of the model walls. This issue does not appear on the side faces.


Next, we wanted to print ABS filament.
For ABS printing, we had to install the walls, roof and door on the printer. The assembly is quite easy and everything is assembled without problems.
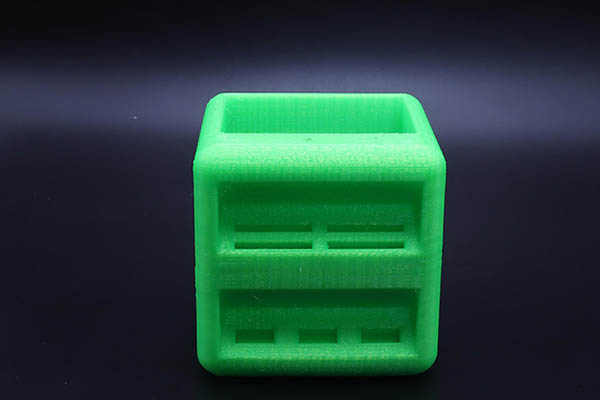
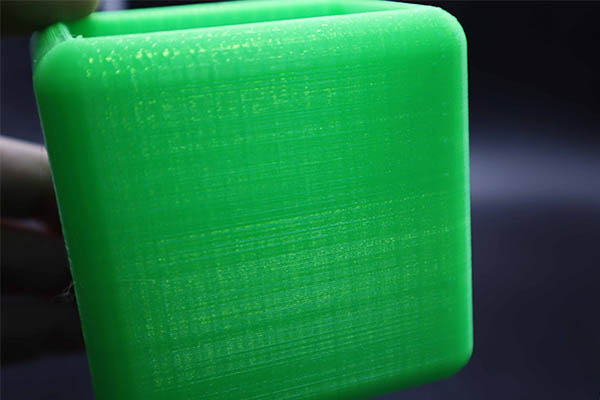
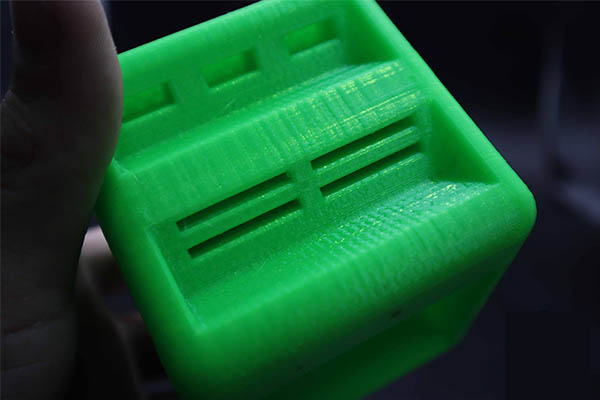
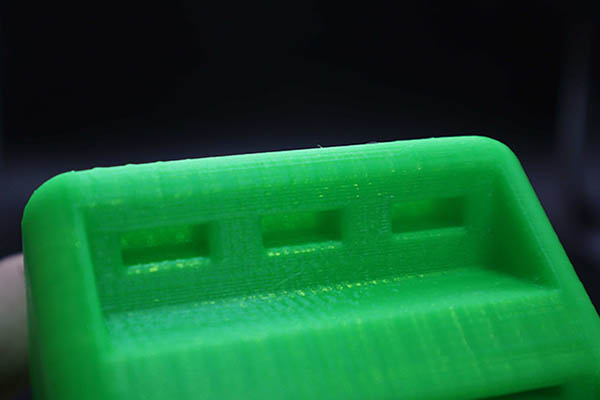
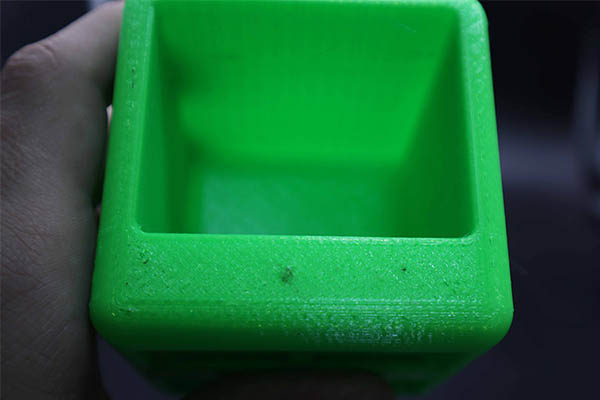
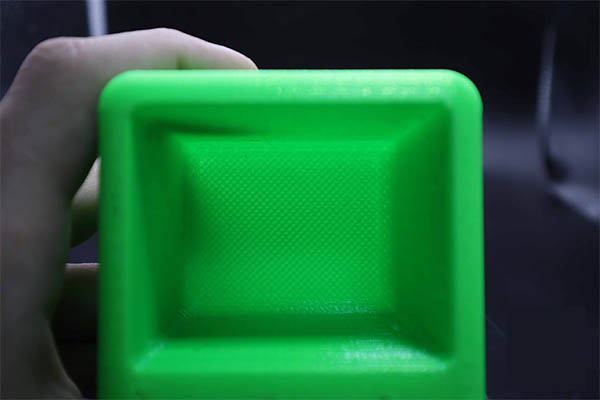
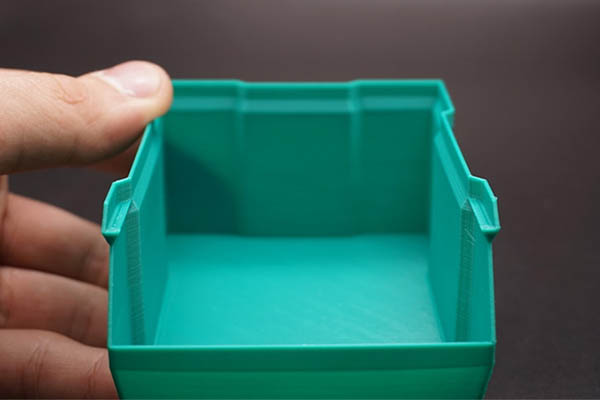
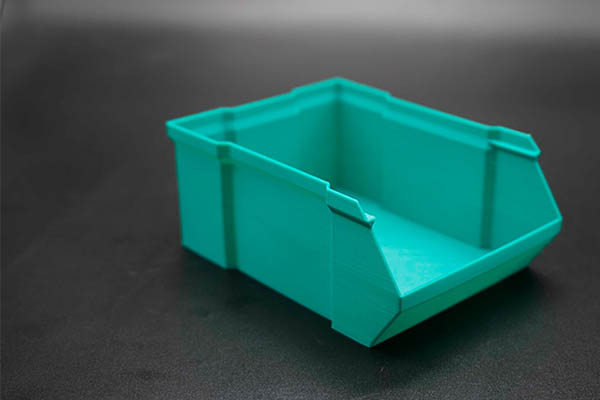
When everything is finally assembled, you can start printing ABS. Our model was a box for storing various small items. It doesn’t look complicated, but it’s actually very thin-walled.
We used the green eSUN ABS filament.

With this model, you can assembled several of the boxes into a small storage system. Therefore, we printed several boxes, hoping to also catch problems with sticking off the table. However, none of the seals had any problems with tearing off the model.
From a closed camera, we could see that the Wanhao GR2 prints complex plastics perfectly. The wall thickness of this model is only 1.2 mm but it did not tear between the layers, which often happens on open printers.

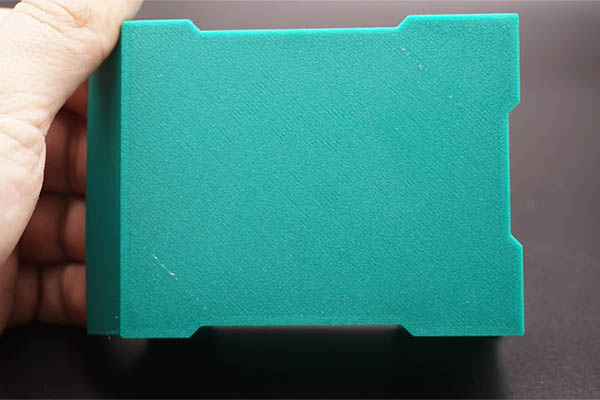
Looking at the contact plane, you can once again make sure that it is firmly stuck to the table and does not come off. From the jambs, a visible seam can be noted at one of the corners of the model. However, you can remove it easily using any tool.

This result inspired us to try to print something more complicated than ABS on this printer.

Polymer Plastics
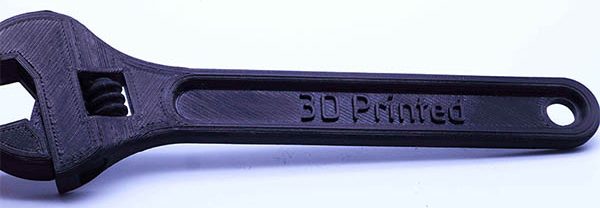
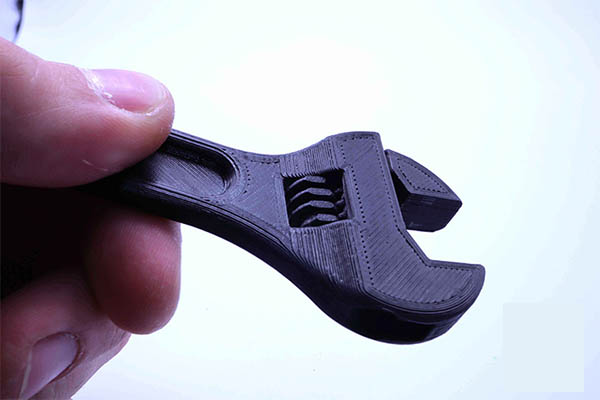
Next, we tried printing a wrench model using Polymaker Polycarbonate. The wrench had to be fully functional immediately after printing. The model already provides support and does not need to be turned on when printing.
The model was printed without any problems. After removing the supports, the wrench spun.
During the printing, many difficult sections were printed on the supports. However, the cooling enabled us to separate the supports with our hands. And the accuracy of the printer is clearly demonstrated by the convex inscription on the handle of this key.

Unfortunately, no matter how much we tried to print with nylon, we didn’t get much. The model started to print and adhered perfectly to the table. However, in the middle, the plastic suddenly chewed into the gear and stopped squeezing out.
The situation was better with carbon-filled nylon as it is stiffer. However, it occasionally clogs due to the small diameter of the nozzle. If you need to print durable carbon-filled plastic models, our recommendation is to use a nozzle with a diameter of at least 0.6 mm.
Conclusion
The Wanhao’s Gadoso Revolution 2 3D printer is a good upgrade of the Duplicator 6. Thanks to the user-friendly touch screen, the printer is more convenient to operate and the feedback is more informative. All actions are literally performed one tap at a time.
The new design of the extruder, with two feed gears, increases the stability of the bar feed into the extruder. This improves the print quality. And the built-in camera allows you to record and review the printing process.
This 3D printer is can handle different types of 3D printing filaments. Moreover, thanks to the separate configuration, you can not overpay if you plan to print only PETG and PLA.
During testing, no significant disadvantages of this printer were identified. The only issues is that it was difficult to print flexible materials.
In our opinion, the Wanhao GR2 is a great option for novice printers due to its ease of use and visual calibration assistant.
More advanced users will appreciate the ability to print with complex plastics, as well as connect the printer via Wi-Fi and control it remotely. The printer will come in handy in small-scale production firms due to its accuracy and reliability.
