
Wondering how to change a 3D printer nozzle? Follow the simple guide below.
In many online 3D printer groups, people complain about filament leakage issues after replacing a 3D printer nozzle. The cause of the leakage is usually due to improper replacement of the nozzle. In this simple guide, you’ll learn how to properly replace a 3D printer nozzle and avoid filament leaks.
Why Change a 3D Printer Nozzle
There are several reasons why you may need to replace the nozzle. To begin, the old nozzle may be damaged. A damaged nozzle can result in poor quality prints, leakage problems, and poor dimensional accuracy.
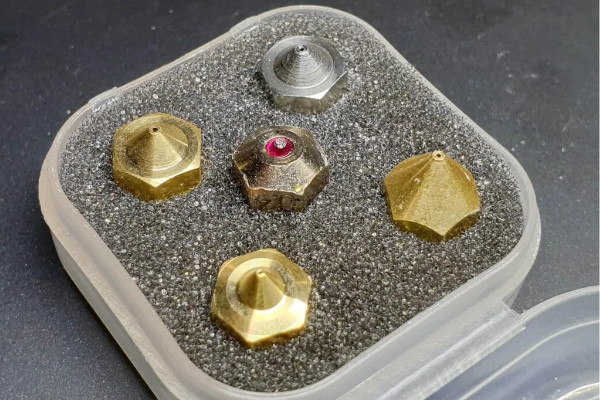
Another reason why you may need to replace a 3D printer nozzle is to print faster. A larger nozzle tip allows for faster print times without increasing print speed. The most common nozzle has a diameter of 0.4 mm.
However, to print faster, you can use nozzles with a diameter of 0.6 mm or 0.8 mm. These nozzles with a larger diameter result in a wider extrusion line and a higher layer height.

By using a smaller nozzle (0.3 mm or 0.2 mm), you can improve the quality of the finished models. However, the print time will also increase.
How to Change 3D Printer Nozzle
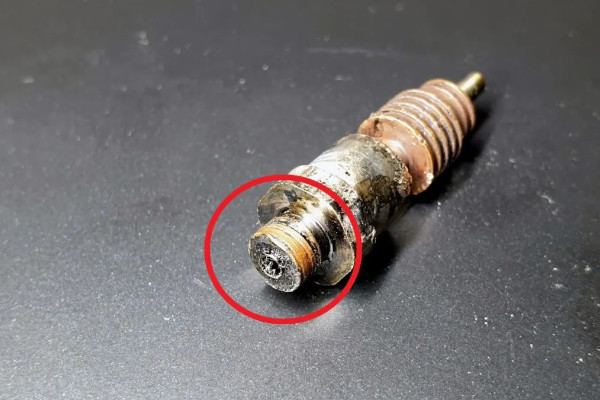
Changing a 3D printer nozzle can be a daunting task for those new to 3D printing. If the nozzle is not properly seated in the heater assembly, the filament may leak during printing.
If you change the nozzle at room temperature, the metal hot end will expand during heating. The expansion will make the nozzle loose as there will be some space between it and the thermal barrier. As a result, the molten filament can flow through the threads. The flowing molten filament will then cause a blockage. As a result, you will have to disassemble and clean the extruder.
Read on to learn how to properly change a 3D printer nozzle and avoid leaks caused by improper tightening.
If you apply too much force while tightening the nozzle, the threads in the heating block will break and the plastic will start to flow out again. There is also a risk of breaking the nozzle altogether.
Preparation
To correctly change the nozzle of your 3D printer, you need the following tools:
- Wrench or pliers to hold the heating block
- Key head for the nozzle
- Heat resistant protective gloves
- Torque wrench (optional, but desirable).
Be careful when changing the nozzle. Hot parts can cause burns and injuries. Therefore, do not touch the nozzle and heating block.
Torque Wrench for Replacing the Nozzle
A torque wrench, which you can print yourself, will be helpful in replacing the 3D printer nozzle. For the best results, we recommended that you use it.
You can download a free model of a torque wrench here .


How to Change a 3D Printer Nozzle
Follow the steps below to properly replace a 3D printer nozzle:
1. Heat the hot end to the maximum temperature
Before you start replacing a 3D printer nozzle, heat the hot end to the maximum temperature allowed by your printer.
Generally, for hot ends that have PTFE tubing inside, the maximum temperature is 260°C. Although temperatures above 240°C can damage the PTFE tubing, heating the hot end will be safe as long as you change the nozzle in a few minutes.
If you are using a silicone pad, remove it before heating.
2. Remove the plastic thread
When the temperature reaches 130°C for PLA and 150°C for PETG, quickly remove the plastic to avoid clogging. This is not really a thorough nozzle cleaning. However, it helps to remove most of the filament, which in turn makes it easier to change the nozzle.

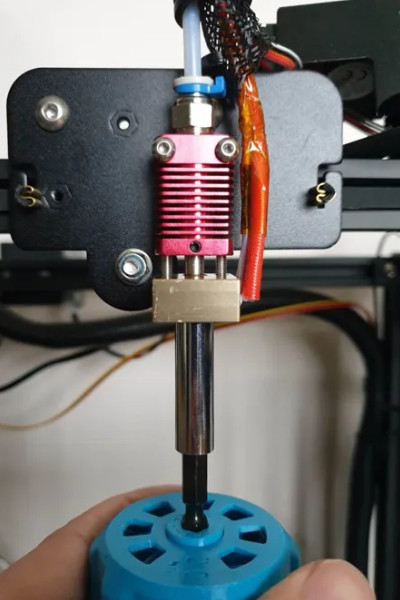
3. Unscrew the old nozzle
Now that the maximum temperature is set in the hot end, you can replace the nozzle.
Take a wrench or pliers and hold the heating block in place. Grasp it carefully, avoiding the heating element and thermistor. With your other hand, start unscrewing the nozzle.


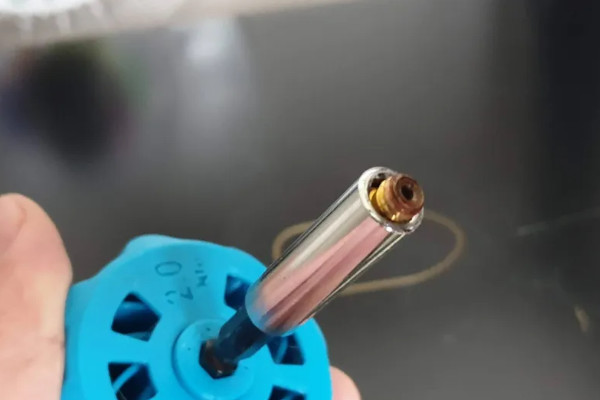
4. Screw the new nozzle into the heating block
If you are using gloves, you can start hand-tightening the nozzle. Then, tighten with a socket or torque wrench.
If you are not wearing gloves, insert the nozzle into the head and screw it into the heating block. After the nozzle is screwed on, tighten a little more. Do not overtighten as this can damage the threads and the nozzle and/or the heating block.
If you are using the recommended torque wrench, the nozzle is considered to be properly tightened after you click the wrench.
And that is how to correctly change a 3D printer nozzle.
