


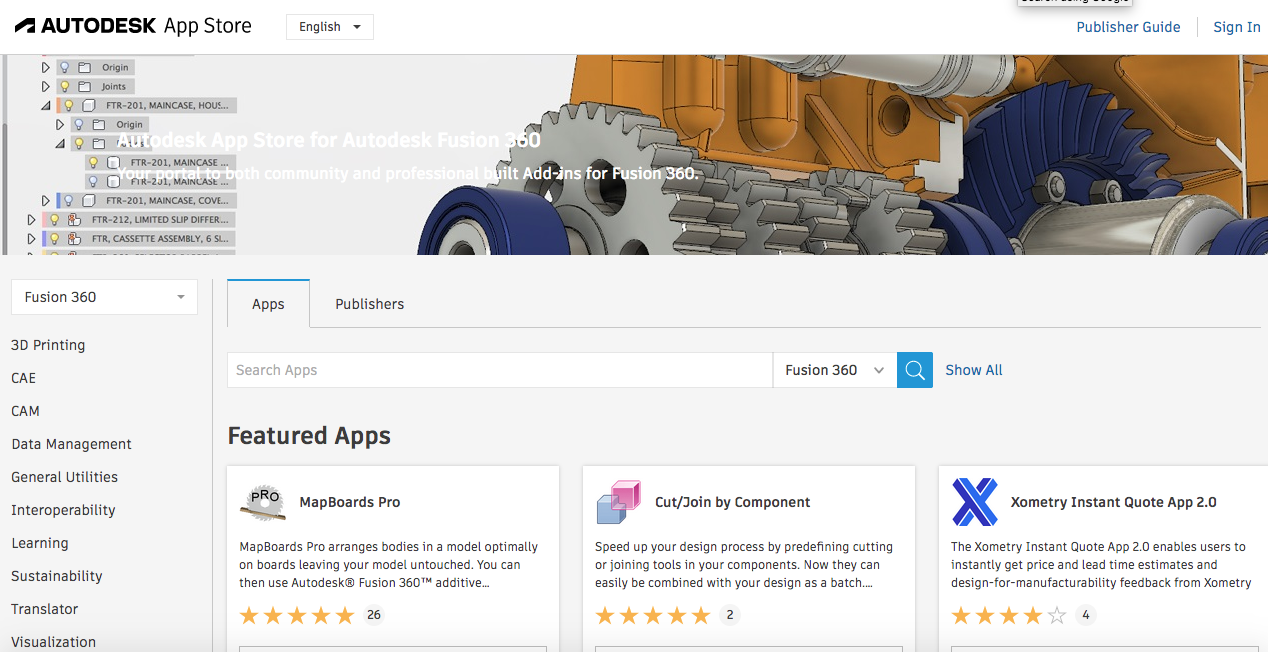
Autodesk Fusion 360 is a 3D modeling, design and calculation software that combines CAD, CAM and CAE systems.


The program is convenient for hobby use, thanks to an individual license option, and for professional use, thanks to the affordable commercial license offered.
Autodesk Fusion 360 has many advantages over other CAD software for 3D printing. Continue reading to fine out more.
[toc]
AutoDesk Fusion 360 Review: Origin & Features
Fusion 360 was curved out of Inventor, a user-friendly design and simulation software by Autodesk that could be used to create models and assemblies. Autodesk then released an even more successful and modern program; the Fusion 360.
Fusion 360 is a CAD software that works mainly in the cloud, enabling teamwork and cloud file storage. This innovative solution was created based on user feedback and feedback.
CAD Solution
One of the key features of Fusion 360 is the ability to fully create a part, from a prototype to a finished solution.

Cloud Storage
The program not only allows users to save their projects on the cloud, but also a cloud render. With cloud render, users with weak computers can use for credits. The “credits” are a kind of internal currency of the program, which is earned by using the program.


Teamwork
Teamwork is another feature that makes Autodesk Fusion 360 stand out. Through teamwork features, you can set access settings of the files you are working on. There is also a separate folder where all the files that you have been given access to are stored, file versioning, as in programming, is just a part of what is available.


Scripting
Fusion also has scripts. However, these are not just scripts in the usual form as are found in Solidworks or Inventor, where you can use the parametricity of the model and parameters related to assemblies and parts of the assembly and its animation. Instead, these are entire utilities that Autodesk has put out in a separate section on the site. Anyone can download the scrips to use for new projects or speed up existing ones.


The features of Autodesk Fusion 360 are lightweight and work online. The installation file, compared to other Autodesk programs, takes up minimum space, and installation takes about five minutes.
If you do not like software that require you to be online for them to work (perhaps due to fear of file leaks or the inability to work offline), you can use the software in offline mode. In this case, any changes can be made on your files on the PC even without an Internet connection.


Yes, you can’t work offline all the time. You need to connect to the internet periodically to upload files to the cloud, synchronize changes in the system and update the program.
Main Functionality
Fusion 360 is a versatile program that can be used to create:
- Blueprints
- Models
- Models with elements of surface modeling
- Assemblies
- Build animations
- Render (with library of materials, light sources and simple textures by planes)
- Load Simulation and Analysis (CAE Block)
- Create machine code for milling and turning (CAM block)
- Work with sheet material
- Create PCB layouts with the Electronic Components Library
- Create generative design elements
- Prepare models for 3D printing (recently this is not just a transfer to a third-party slicer )


All these and many more are found in Fusion 360. The availability of features, especially those mentioned in the last paragraphs, depends on the type of license you have.
License Types
The lowest tier license – Customer, or Hobbyist User – contains almost everything, except generative design. Check the official Autodesk website for updated details of the different types of licenses available.
The Education license of the software is popular among many makers. This is a free license meant for students, which is issued through an educational institution. You just need to indicate the educational institution and attach the relevant documents to get the license.
Creating Files

The file creation feature is available at the very top of the menu, on the left.
In addition to creating a model (New Design), you can:
- Create an electronic assembly (New Electronic Design),
- Create a library of electronic components (New Electronic Library),
- Create a new drawing from an existing one (New Drawing),
- Create a template (New Drawing Template),
- Open a document or model (Open),
- Open last session (Recover Document),
- Upload items (Upload),
- Save (Save),
- Export a model or drawing (Export),
- Send to slicer to get g-code (3D print),
- Create an image (Capture Image),
- Open access for colleagues (Share).
There are also standard Undo and Redo buttons (undo the action and redo the change). The change history is displayed at the bottom of the file.


The change history has start and rewind buttons. Therefore, you might mistakenly think that this is an animation line.
Only 3D modeling transformations are shown in the history. You can also rollback actions in the sketch, but you will not see them in the history below.
The construction tree is also available through the menu.


Everything here is simple and concise, laid out in folders – bodies, surfaces, sketches, the main starting geometry – all these can be moved.
In a folder with bodies, you can create subfolders, combining them according to some attribute. However, unfortunately, this is not possible in sketches. For orientation in sketches, you can simply click on the body or object so that the sketch with which this body is created.
Sketching
To sketch, you need to go to the Solid tab and click on the Sketch button. When you hover over each menu button, an interactive hint appears. The hint is helpful for new users or those who have not used the program for a long time.


After clicking, a Sketch tab opens.


Everything is intuitive .Even without knowing the names of the commands and their descriptions – everything is clear from the command icons. If you have experience with Inventor or AutoCAD, you will easily understand the sketch icons.
Fusion 360 allows you to create a sketch through different ways;
- Based on what the model is based on. It can be a revolve shape, a regular shape based on multiple sketches, a pattern of parts, or a shape based on clipping surfaces;
- By sketching, dimensioning, and constraining.
The main sketching tools are as follows:
- Line. Allows you to draw a line between two points. For this element, you can set the size and angle of inclination in a special form. You can also switch between these options using the TAB button.
- Rectangle. This tool allows you to create rectangles in several ways: by the extreme points of the shape; by coordinates of points located in the center and extreme; and at three extreme points.
- Geometric Design Tools. These are a group of tools for geometric design; Circle, Arc, Polygon, Ellipse, Slot, Spline, Conic Curve.
- Mirror and Pattern. These tools that allow you to create copies of existing geometry. Mirror allows you to mirror an element with a line of symmetry by clicking the Objects button, then Mirror Line and OK.
- Sketch Dimension. This tool that allows you to set the dimensions of the model, including linear, angular, radius, etc.
- Fillet. Enables creation of a rounded part between two previously drawn segments.
- Trim and Extend Buttons. For trimming and lengthening the selected object, with an orientation to the intersection of the selected part of the picture with another marked object.
- Sketch Scale. This button allows you to change the scale of a sketch or part of it relative to a given point.
- Offset. This tool moves a certain path at a given distance.
- Constraints. This is a constraint button that allows you to create connecting bridges between objects, including their properties such as horizontal or parallel. This tool directly depends on the dimensions. Therefore, it is most often used simultaneously with them.
Create 3D Sketches
Fusion 360 also allows you to create a 3D sketch through the Include 3D Geometry button.
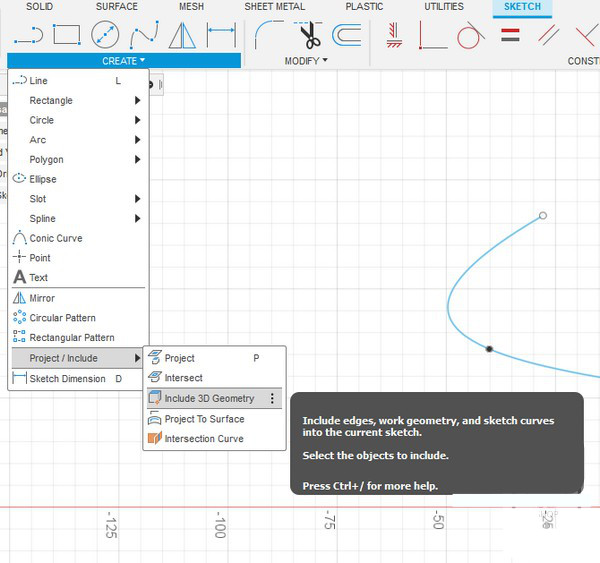

Adding volume to a 2D sketch to get a 3D sketch is important for advanced users looking to manipulate the path or create surfaces by snapping to 3D objects.
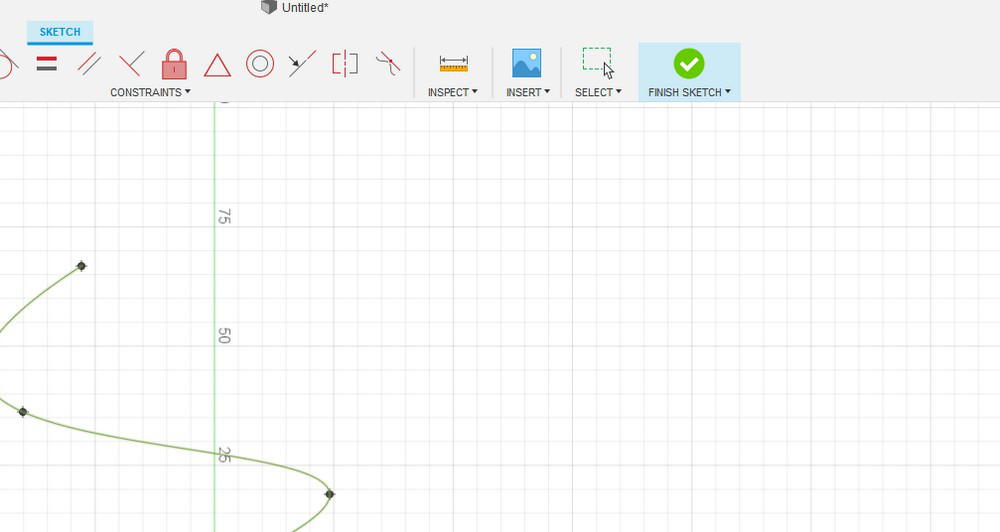
After sketching, you can close the sketch. To do this, press the right mouse button for a context menu to appear. Next, click the checkmark there; or click the big green checkmark on the top right of the program window.


Objects and Surfaces
To convert the 2D sketch into 3D, you can use either the Solid menu or the Surface menu, depending on what kind of part you have.


The Solid menu is divided by functionality. On the left are tools for creating models. On the right are tools for manipulating existing models. The most commonly used functions for creating models are described below.
- Extrude (Extend) sketch. Here, you select from the menu what the given body is. Is it a cut, a body or an object? An object is an element that is already assembled.
- Revolve (Rotation). This allows the creation of bodies or cuts based on the rotation of the sketch around a certain axis. The axis can use any line or you can create an axis using program primitives.
- Loft (Extrusion by sections). This creates shapes based on the extrusion of sketches of different shapes located on different planes. The logic of the transition from one sketch to another is also available for customization in the program.
- Sweep. Draws the sketch along a user-specified path.
- Emboss (Projecting a contour onto a surface). As the name implies, this tool projects a contour onto a surface. Not all surfaces lend themselves. This tool enables contours to project through surfaces that do not lend themselves better.
- Pattern (Array circular and in directions). With this tool, you can copy objects according to a certain logic, in directions or in a circle. In the menu, you can either leave all the objects in the array, or delete unnecessary ones by simply clicking the checkmarks.
- Mirror (Mirror). Mirroring with respect to some plane.
- Thicken (Giving the thickness of the model). This provides a uniform thickness of the model over the entire or part of the surface.
Everything related to the Surface menu is almost the same as in Solid, but with one exception – we are no longer operating with solid bodies. Instead, we are working with surfaces for which the same laws of geometry work as for a solid body. But the surface has no thickness. Therefore, instead of Thicken, we have the Offset command that allows you to copy the surface parallel to the selected one.


Changes in the solid and surface are presented in the form of Boolean operations that are easy to understand. Fillets and chamfers are also added by dividing the body into separate parts using planes and moving individual parts of the body.


For surfaces, the change looks almost the same. However, it is called a little differently.


Instead of the usual extrusion or Boolean subtraction, we have a “trim” of the surface (Trim). Also, the surface, as a complex object that lacks thickness, has the concept of a normal, or, more simply, the front surface. Where the face is, and where the back is, you can specify using the change of normals (Reverse normal).
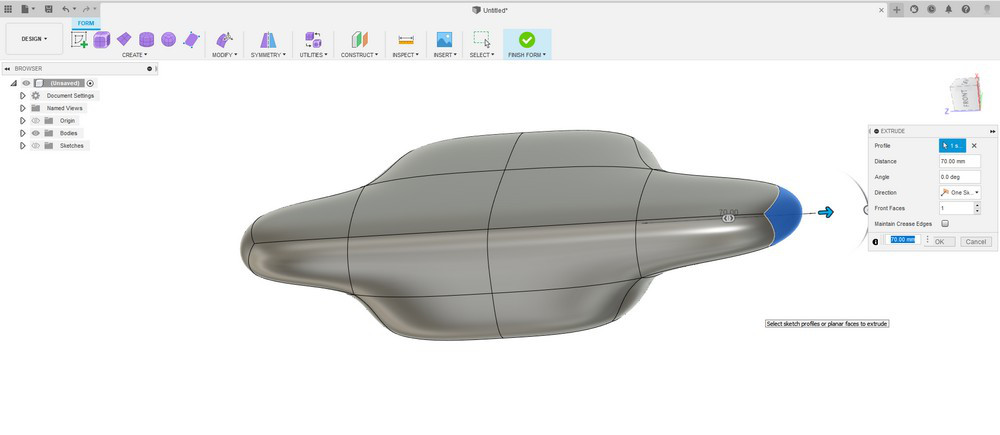
Another noteworthy mode is the mode of creating a parametric form (Create form).


This is something similar to polygonal modeling, but closer to T-Spline, i.e., it is possible to influence the model with parameters.
This is a handy mode for modeling organic parts, or surfaces that are not amenable to conventional surface modeling.


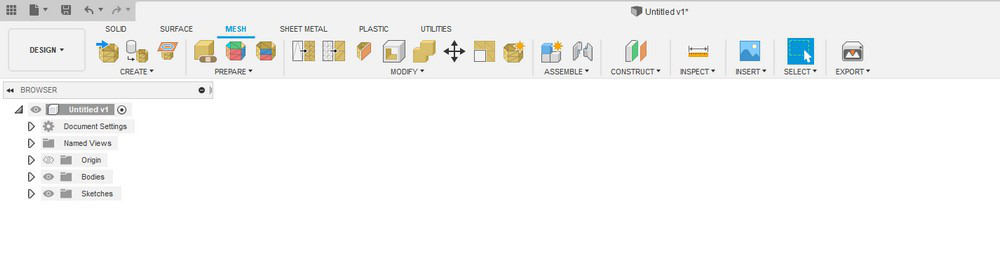
Polygon Meshes, mesh
The next tab is responsible for iteration of the object with mesh (polygonal models), which are increasingly required in the engineering fields, especially for engineers involved in 3D scanning.
Polygonal models are obtained after scanning. Most often, the scans need to be converted to a solid body. This, in part, can help Fusion 360, but only for the simplest parts that allow you to position yourself and make a section directly on the mesh. This is enough to convert the mesh into a solid body that you can already fully work with.
Watch the video below for more details:

Some polygonal models containing a large number of polygons should not be loaded into the program. However, models with details of up to 1 million polygons open quickly enough.


A little more about this menu.

The first button is responsible for importing the mesh. Then, in the pop-up menu, a function appears that allows you to make the section necessary to build a solid body.


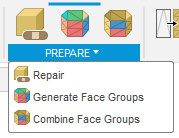
Next is the section responsible for splitting the mesh into separate sections. This method is used in more professional programs for reverse modeling. There is also the Repair, which is handy when repairing the mesh. If the mesh has holes, and a few polygons, this command will cope with the “repair”.

Next, are the functions for changing the mesh. The commands here help with remodeling the mesh (Remesh), cutting or cutting the mesh (Plane Cut), and the change of normals already familiar to us.


This is only a small part of the functionality that is available for working with a mesh. To cover all funtions, one more article would be needed for this section alone.
Sheetmetal
On the next tab, we get the functions for working with sheet metal. This tab is aptly named Sheet metal.
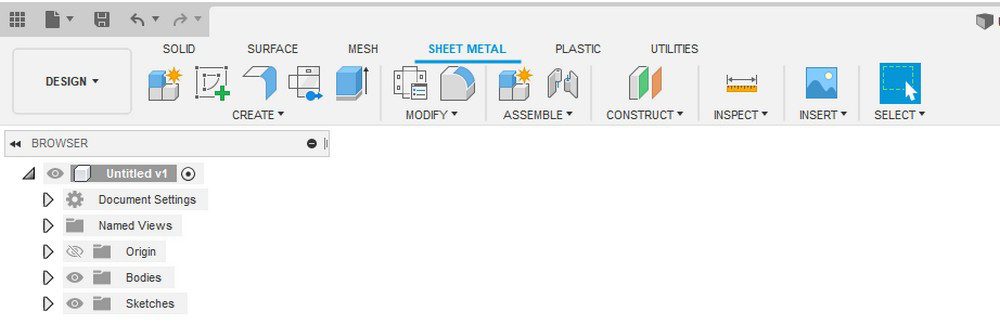

In this section, you can create a sheet assembly from ordinary sheets created from a solid body, which can be put into production.
Plastic
The last section we’ll look at in this article is the relatively new Plastic section.


This section also deserves a separate article as there are so many new things about it. In the section, we find hooks for assembling products from 3D printed parts, and patterns for cooling holes. There is also a separate command for positioning fasteners.

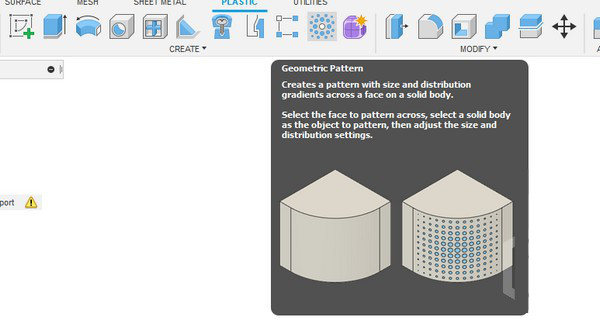


A separate team for the analysis of the strait of the model during casting.


That is all. Everything needed for casting and 3D printing are combined here. You can enable them in your personal account of the program.

System and Hardware Requirements
There are several options for installing Fusion 360. The most common one is installing on a single user system. With tyhis option, the Fusion 360 client will always up to date and compatible with the web services that the program uses on the server.
Some tasks may not be feasible if a singe Fusion 360 instance is installed in multiple machines. Check the links below for installation of the software either for individual PCs or managed PCs.
System Requirements for Fusion 360
- Apple® macOS™ Sierra v10.12; Mac® OS® X v10.11.x (El Capitan); Mac OS X v10.10.x (Yosemite)
- Microsoft® Windows® 7 SP1, Windows 8.1, or Windows 10 (64-bit only)
- Processor 64-bit (32-bit not supported);
- Memory: 3GB RAM (4GB or more recommended)
- Internet connection;
- Approximately 2.5 GB of free disk space for the Fusion 360 client;
- Graphics card 512 MB or more: any graphics cards on supported hardware (except Intel GMA X3100);
- Pointing device: Microsoft compatible mouse; Apple Mouse; MacBook Pro Touch Bar;
- Fusion 360 is updated approximately every 2 weeks. All installations must be timely synchronized.
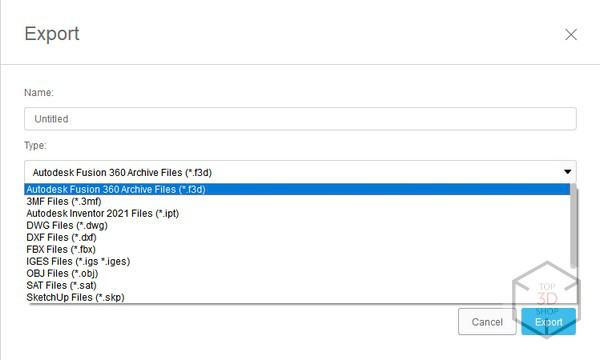
Formats
Imported formats
You can import files made standard CAD formats: .stp, .step, .iges, etc. into Fusion 360.


Own Format
Fusion 360’s native format is the .f3d file. This format stores all history and changes.
Exported formats
You can export files from Fusion 360 into different formats for working with 3D.

Conclusions
Fusion 360 is a great program that has a lot of features that will help you realize your plans, from prototype to finished product.
Let’s look at its pros and cons.
Pros
- There is everything for a full cycle of creation.
- Support for the program and the ability to influence its functionality.
- Availability of free and educational version.
- The ability to try new functionality by simply enabling it in the settings.
- Works on most platforms (Mac, Windows).
- Price – Compared to other software packages, the price for Fusion is the lowest. Moreover, there are regular promotions.
- A huge number of supported formats and full-fledged work with the mesh.
Cons
- Periodically, you need to connect to the internet to update and synchronize the software on the cloud.
- Creating huge assemblies and opening huge files takes a lot of time.
- There is almost no work with reverse, very little functionality.
- Paid (full package with all add-ons purchased separately).
We recommend using Autodesk Fusion 360 for the design of mechanical parts, critical assemblies, hull and frame products in mechanical engineering, auto and motorcycle industry, aircraft industry and many other areas. The software will prove handy wherever you may need a convenient and accurate design software tool.
Do you have any questions? Contact us and get professional advice.